


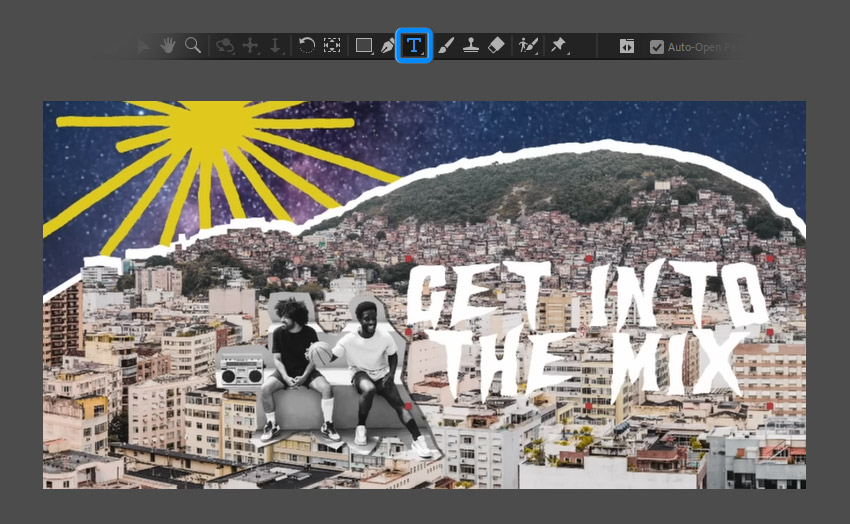
For this tutorial we’ll learn how to create a call-to-action end screen animation in After Effects. This will be used at the end of our collage animation project example, which comprises of many different scenes and animations moving across the screen. However you can use these tips and techniques at the end of your own projects as well!

A call to action is a prompt that happens usually at the end of a video that encourages the viewer to take some form of action. An example of this could be at the end of a video commercial where it asks the audience to buy their product.
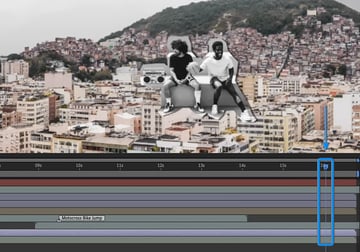
For our project here, we are going to decide where in the timeline we want the call to action to take place. This is usually towards or at the end of the composition.
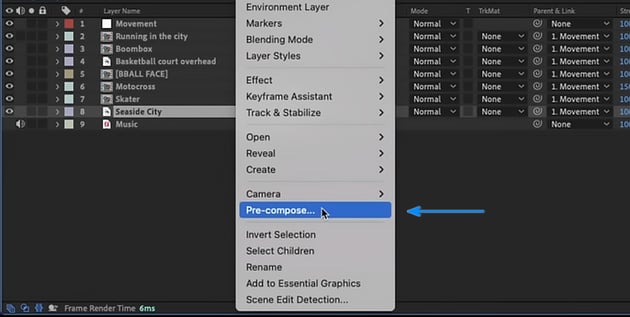
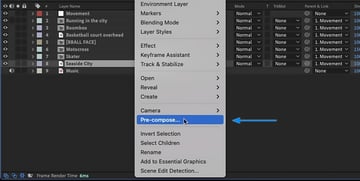
Once you’ve done that, we need to pre-comp the assets that we want to use for the call to action animation. In this case we’ll be using the background image and the image of the two basketball players here.
You can do this by right clicking on your selected layers and then clicking on Pre-compose.

We’re going to position our basketball players near the bottom of the scene and then switch back to our main composition to make sure that everything is visible and it still works visually.


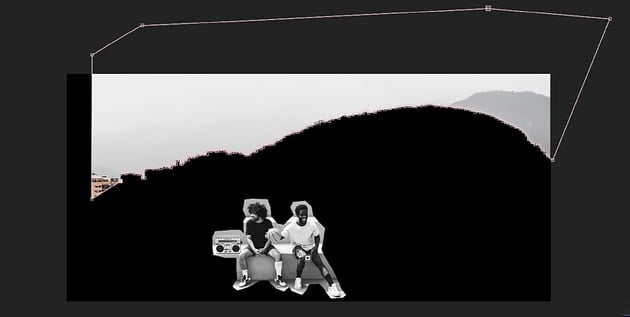
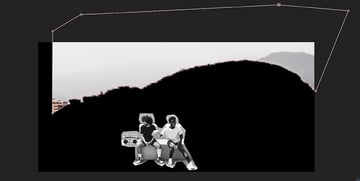
Now let’s mask out the sky and replace it with something a little bit more fun. To do this, just select the Pen Tool (G) and draw around the sky.
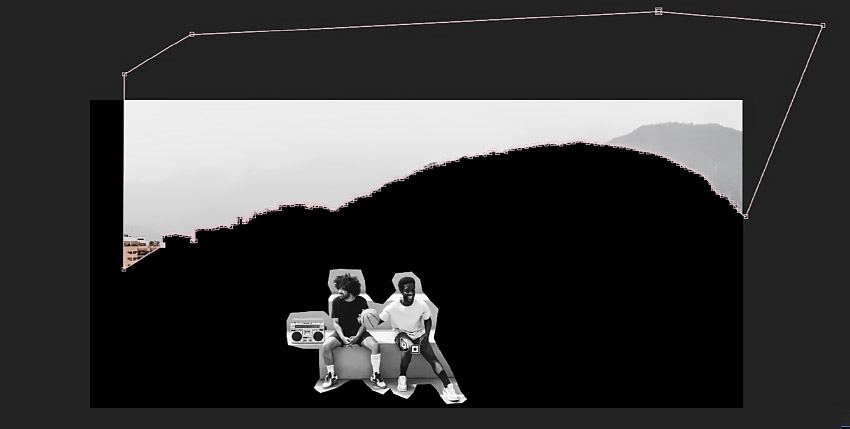
Go into the mask settings and select Inverted.
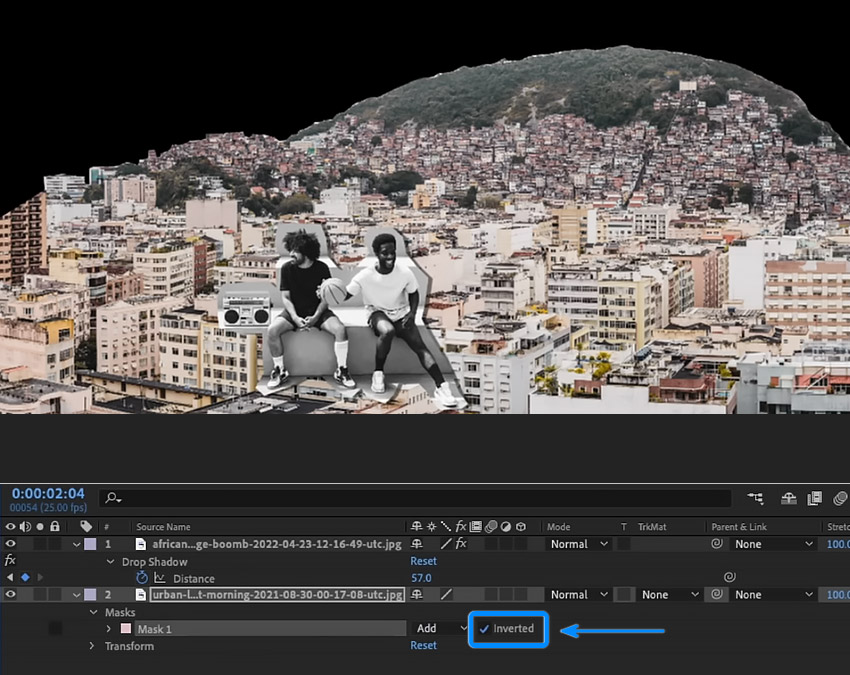

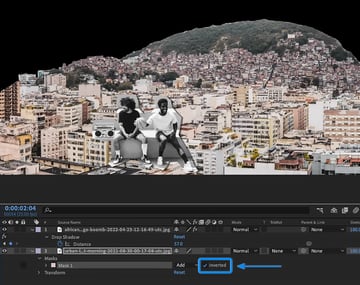
Now we’re going to fill the sky up with something more interesting. We’re going to be using stock images and animations here for this tutorial, but feel free to use your own. Make sure that they are placed below the background layer so that they appear underneath the current image.


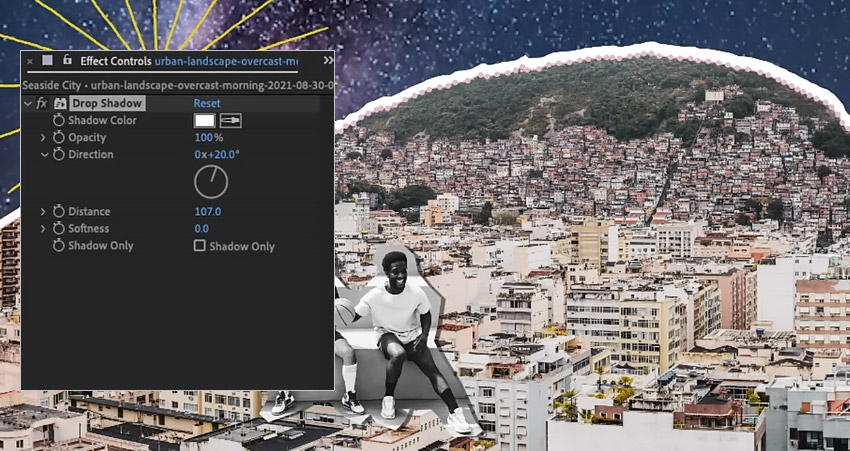
To create that ‘paper cut out’ effect for the landscape we’ll need to apply a Drop Shadow effect on the layer. Then go to the Effect Controls panel and adjust the following:
- Shadow Color:
ffffff - Opacity: 100%
- Direction: 20°
- Distance: 107
- Softness: 0


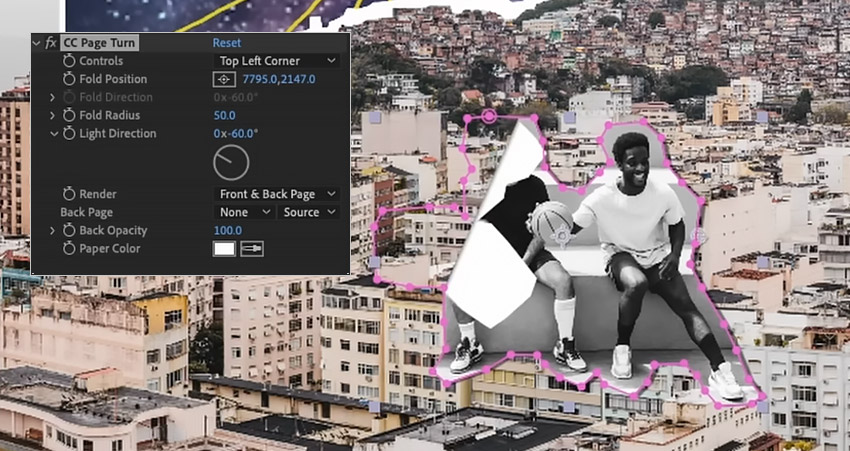
Let’s create a sticker effect for our two basketball players here by going to the Effect & Presets panel and search for ‘CC Page Turn’.
Apply CC Page Turn to the layer and then adjust the following:
- Controls: Top Left Corner
- Fold Radius: 50
- Light Direction: 60°
- Render: Front 7 Back Page
- Back Opacity: 100
- Paper Color:
ffffff


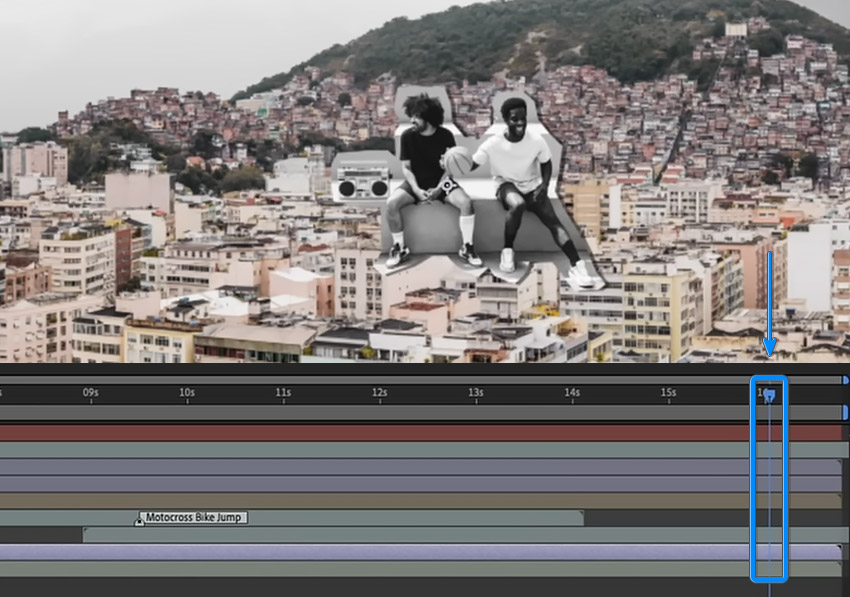
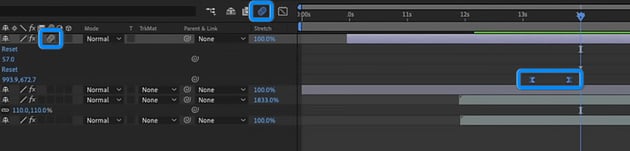
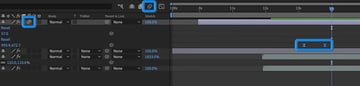
To animate the sticker we will need to adjust the Fold Position. These values control the angle of the fold. So change the number of the first value so that the sticker appears like the image below and create a keyframe for it.
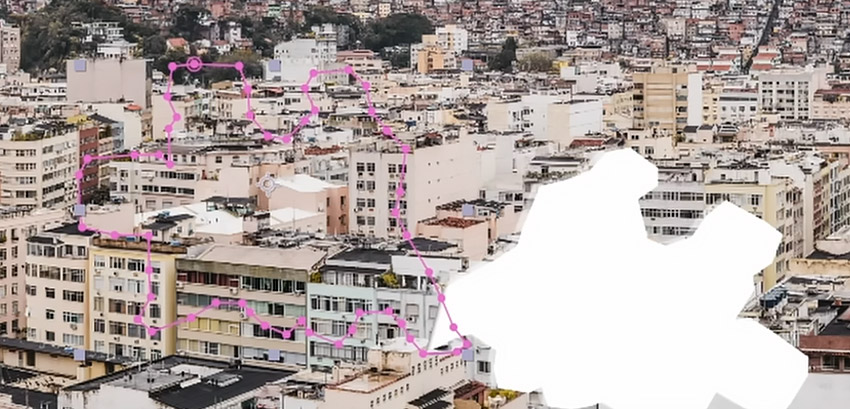


Then move forward in the timeline to the moment where you want the sticker to appear and create a new keyframe for the Fold Position and adjust the value so that the image is fully formed.


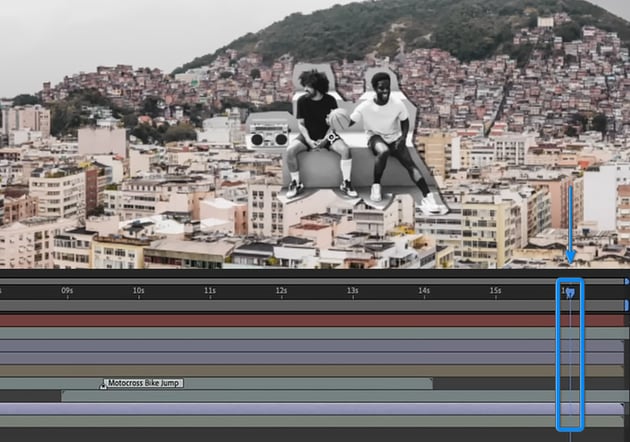
Easy ease the keyframes and apply motion blur to add some final touches to this particular animation.
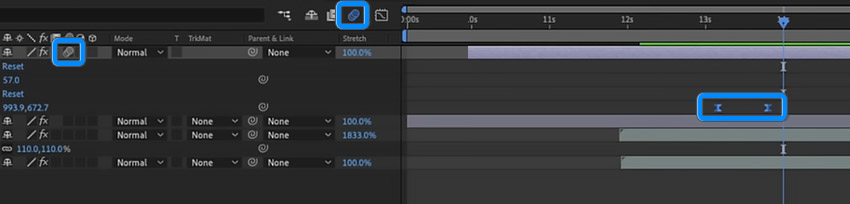
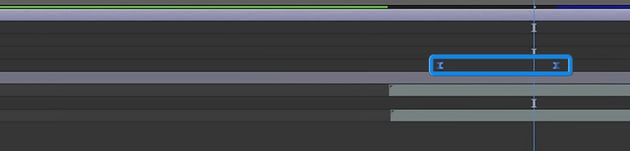
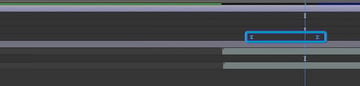
Remember to go back into the main composition to see what it looks like and then make any adjustments to the position and timing of the animation if needed. For example, we can increase the distance between the two keyframes here for our sticker animation in order to make it slower.

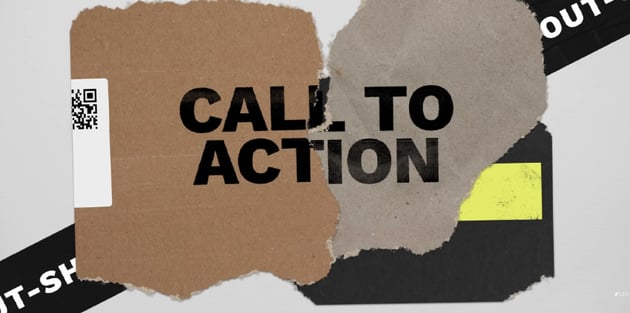
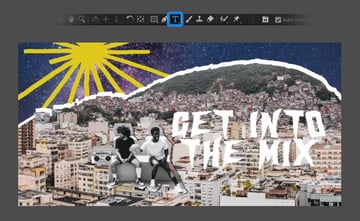
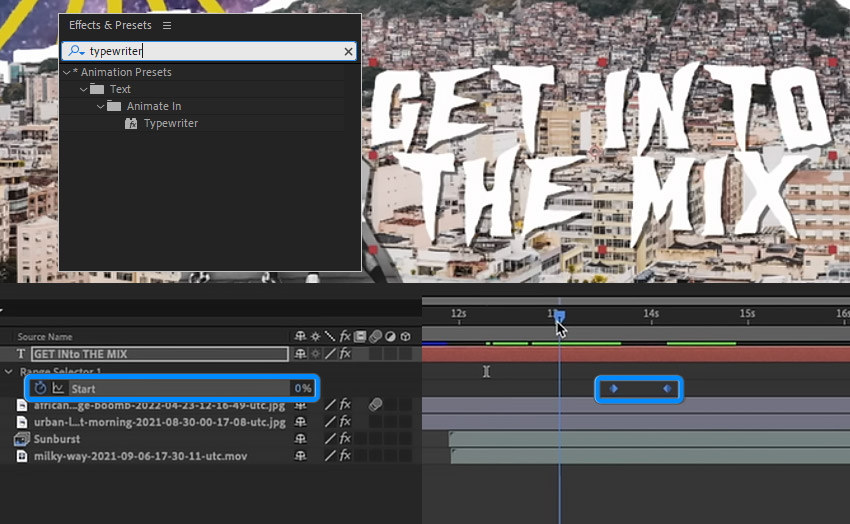
Now let’s add the text to this composition. Simply click on the Horizontal Type Tool (Control – T) and then click on the composition to start typing.

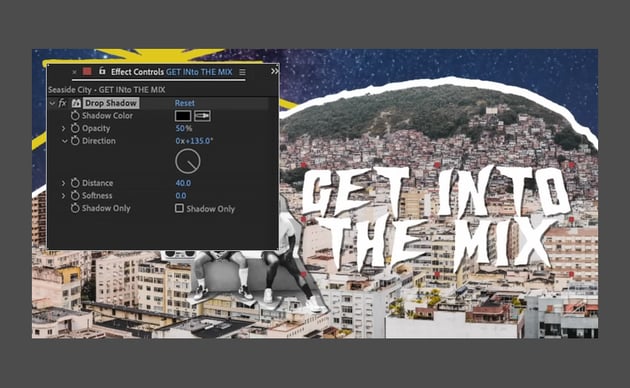
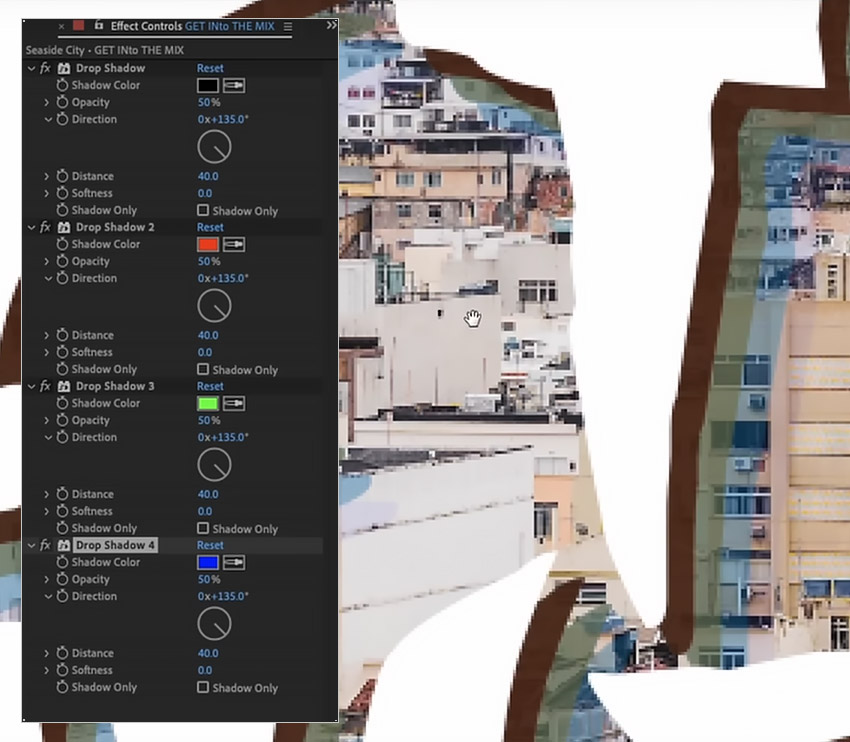
Then add a Drop Shadow effect to the text with the following settings:
- Shadow Color: 000000
- Opacity: 50%
- Direction: 135°
- Distance: 40

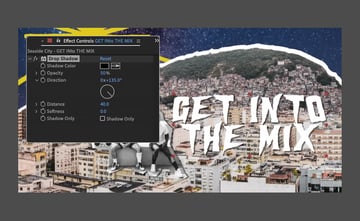
Go to the Effects & Presets panel and search for the Typewriter effect. Add the effect on to the text and adjust the speed using the keyframes for the Range Selector.


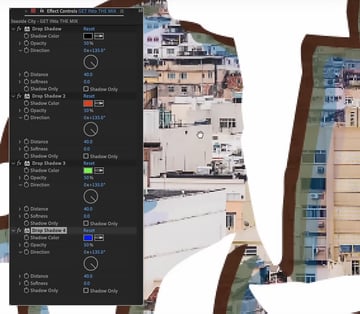
Duplicate the drop shadow effect on the text three times and then change the color for each one to create this kind of RGB effect you can see here.

Change the opacity of each of the drop shadow effects to 100%

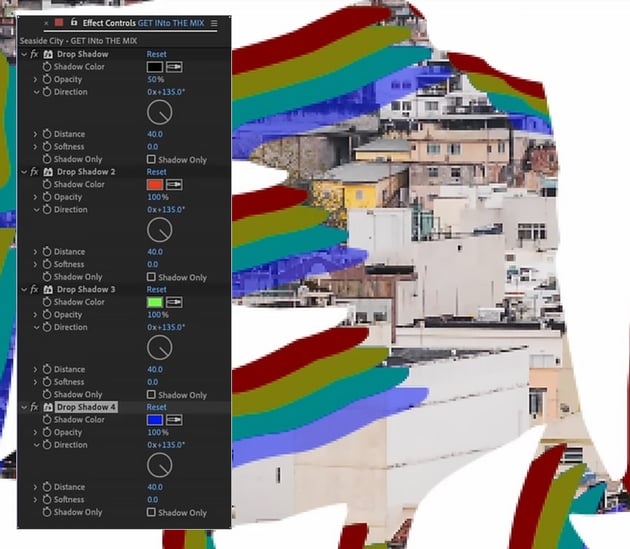

Then go back to the main composition to see what it looks like and make any final adjustments that may be needed.


So that’s how to create a call-to-action end screen animation in After Effects. I hope you found this tutorial helpful and that you’ve learned some new tips and tricks that you can use for your own projects. See you next time!


 Create Cinematic Lighting in After Effects


- Essential After Effects Keyboard Shortcuts: Quick Guide


- How to Make a Double-Exposure Effect Video in After Effects
- How to Use Direct Sunlight in Environmental Lighting and Portrait Photography
- How to Add Light Rays in Photoshop With Your Own Brushes
- Collage Animation in After Effects


