Here’s a typical scenario: we’ve got a camera, a subject, and we’re outside, with the sun as our primary light source. And we can’t move the sun! We can only move our subject and the camera. So let’s find out where we should position the subject in relationship to the sun.
The Sun From The From The Front
In a classic light set up, we use three main lights. The key light is the main light source. The fill light, which fills in the shadows created by key light, is placed on the opposite side. Lastly comes the back light, which is placed behind the subject and gives separation between the subject and the background.
Let’s apply this using the sun as our main light source and find out what’s the best position for our subject. To do this, kindly ask your subject turn to face the sun. From here turn them slightly to either direction so that the sun hits one side more than the other. Looking at the subject below, you can see that her right side is receiving more sunlight.


What we’ve done here is set the sun up as our key light, and the reflected light from the environment acts as the fill light on the opposite side of their face. Now, from the previous lesson, we’ve learned that the fill light and key light should be diffused, and since we have nothing else but the sun, which is a hard light, we can say that using the sun as a key light is not the best solution. However, at this point we can still try a few things.
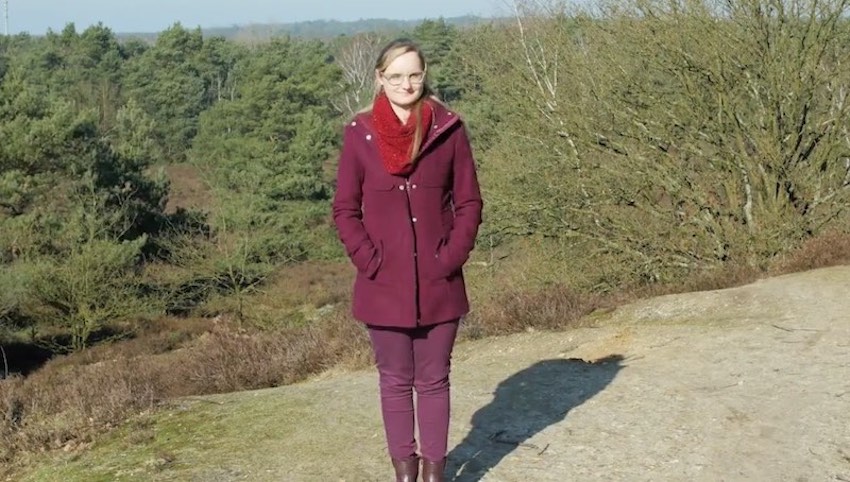
Try to make the most of the sunlight by choosing your location and arrange your composition to work with the quality of sunlight that you have. Here’s an example:
A large diffusion panel might also do the trick. This tool is a big frame of white, translucent fabric that diffuses the sunlight on your subject. Because it’s big and bulky this is not the most practical solution, but if you’re staging a scene out doors it might be what you need.
Try to add a fill light made using a bounce card or reflector, or even a v-card, to illuminate the shadow side of the face and reduce the harsh lighting ratio created by the direct sunlight. This works great for a portrait or interview type setup, and is inexpensive.


Lighting a Person With The Sun From Behind
Let’s try the sun as a back light. Remember to position it either on the left or on the right side: you want to make sure you don’t have the sun visible on your camera unless you have a good reason. Check out the image below. Right away, you can see that the sun works great as a backlight.


The problem is the hair is over-exposed. We’ve got the sun on the back, but when we now take our camera and turn it on, we see something like this.


The subject here is completely underexposed and that’s because I have the camera set to automatic. In this setting, the camera will expose and compensate for the very bright spots on the rim of their head, as well as the background. To fix this you should set your camera to manual mode, so you have full control over the exposure settings. Then you can properly expose for the face of your subject.
This is another setup that benefits from a fill light or a bounce card to help light the face and balance the lighting rations.
Summary
Direct sunlight is a hard-quality light source. You can use this quality to amplify shape, a dense of depth, and texture, but it also presents some problems. That same bright, hard-edge quality makes it difficult to work under for long periods, so try to work quickly; don’t subject your models to long stints in the sun, carry liquids, and have a plan to get to back to shelter promptly when your shoot is over.


