Reflectors are a very nice tool to have. You can pick up a professional reflector at any photography equipment store, as well as online. What’s nice is that they don’t cost that much, usually around the US$50 mark. But if it’s your first reflector, you might want to build your own. It’s very easy to do and a fun DIY project. In this tutorial, I’ll show you how to build a basic but very functional reflector.
The White Surface


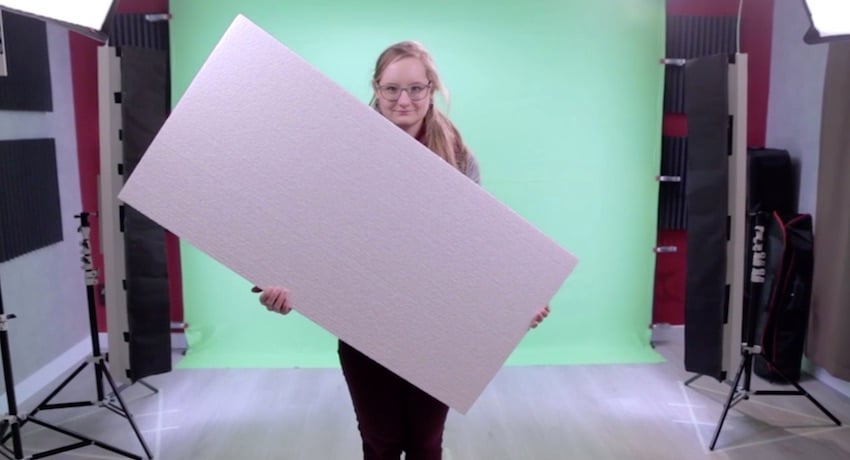
Let’s start with the first side of the reflector, which is going to be a soft white area. Before you run over to the garage to start your building, you want to keep in mind that we usually have to hold the board and transport it. That means that you’re going to want to look for something lightweight and not too bulky, so it can fit in your car.
Of course, you can take any material for this that suits your needs, but I’d recommend using a thick foam board. You want to make sure that the board is 1.5 inches or 4 cm thick. The thicker the board, the more robust your reflector will be, and these foam boards tend to break pretty easily. Now, the structure of the foam board surface will give you a very nice, soft reflection. If you have a very large board, don’t be afraid to cut off a piece if you need to transport it as well.
The Silver Side


We have the soft white side, so now let’s add a silver coating on the back of that foam board. For the silver material, we’ll be using aluminium foil. Roll the foil over the foam board till it covers it on one side, making sure the foil has a good amount of overhang on the edges. Depending on the size of your board, you may need to make another pass.
When that’s done, you want to adhere the foil to the foam board. The best solution is double-sided tape or cold glue. Hot glue will burn a hole through the board. To lay the tape down, make sure you get full lengths with ample coverage, making sure the gaps between the tape you lay are small as aluminium foil breaks and rips very easily.
When the tape is applied, remove the double-sided tape shield and firmly place the foil over the board. To help manage tearing, we’re going to use duct tape to cover all the edges that are most prone to starting a tear.
Now let’s test this out in the wild. So here we are with the model, and as you can see, it works great and only cost a few household products.


Summary
Any object with a white surface will do the trick to reflect light, keeping in mind whether or not you can easily transport it from place to place. It needs to be lightweight and sturdy. If you go for a foam board, make sure it’s thick enough, and if you want a more intense reflection, add a silver side to your foam board, the cheapest method being aluminium foil.
Learn More


