You may or may not have come across the term “moiré pattern”, but I’m willing to bet that your eyes have come across this visual quirk before and wondered what to do about them! In this tutorial, we’re going to learn how to identify a moiré pattern and how to use Lightroom to minimize its effect.
What Is a Moiré Pattern?
A moiré pattern is a strange-looking wavy pattern that can appear in an image when the object being photographed contains repetitive details, such as lines or dots, that exceed the resolution of the camera’s sensor. This exists entirely as a digital phenomenon as moiré is almost never found in nature. However, it can easily appear in photographs with a detailed pattern.
How to Remove a Moiré Pattern in Lightroom
Unfortunately, there’s no tool available to fully remove a moiré pattern in Lightroom. Because the issue actually lies in the camera’s sensor, we can only do our best to mitigate the problem in post-production—we can’t remove it entirely. This is one of those instances where a slightly different aperture, changing the angle of the camera, or adjusting the lighting of the subject would be the best options for removing a moiré pattern.
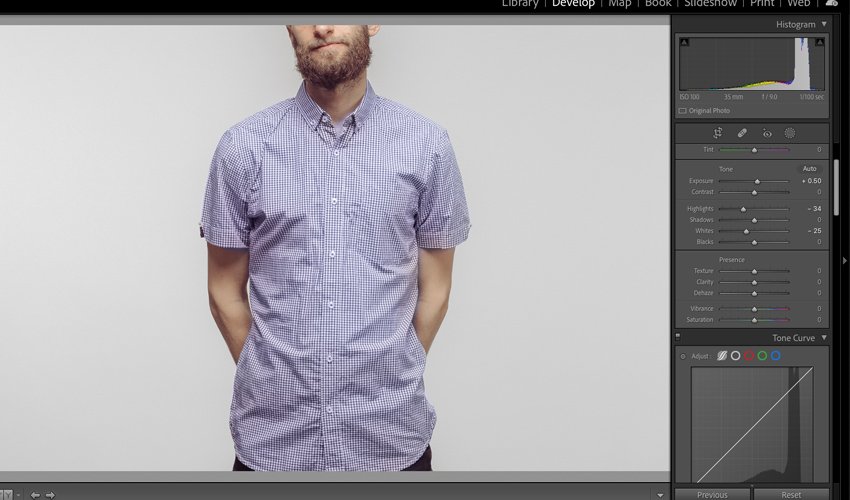
All is not lost, though. Here’s how we can deal with a moiré pattern in Lightroom. There’s some minor moiré pattern on this checked shirt.


The first step is to make a selection of the shirt. I’ll use the Brush Tool (K) to mask the shirt.


Now that I’ve masked the shirt, let’s locate the Moiré adjustment. Lightroom has located it all the way at the bottom of the Effects Adjustments panel.


The moiré adjustment works in the opposite way to what you might expect. Positive values increase the amount of moiré correction, and negative values decrease the amount of moiré correction.
Generally, a moiré correction of somewhere between 60 and 80 should be plenty. I’ve chosen a Moiré correction of 67.


Notice how some of the transitions have now been softened between the crunchy detailed sections of the shirt.
Limitations of Moiré Pattern Corrections in Lightroom
Here’s an example of a photo of a barn with a really bad moiré pattern on the barn door.


I’ll make a selection of the door, and move the moiré adjustment all the way to 100.


As you can see, there isn’t much change to the door as the moiré adjustment has reached its limit. This is an example of where recording this barn door at a slightly different angle or with a different aperture could have yielded a better result.
I hope this has helped demystify moiré patterns and gives you a few things to think about when you come across one of these on your upcoming shoots.


