In this tutorial on beauty makeup for photography, we’re going to be applying makeup for a high-fashion beauty shoot.
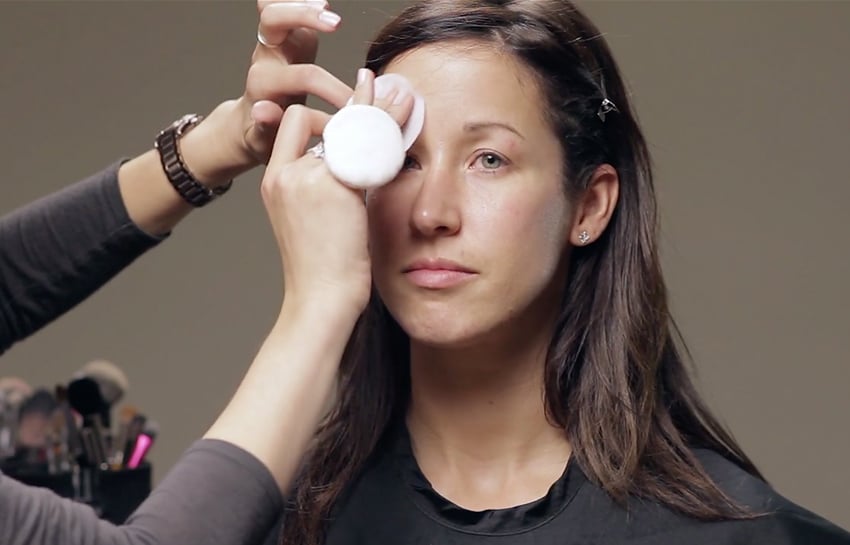
Exfoliate
To begin, I’m going to use a gentle exfoliator to get rid of any of the dead skin on the surface.


Moisturize
Next, I am going to apply a rich moisturizer so that the skin is nice and hydrated. This is definitely a makeup artist’s favourite product. It’s good for all skin types, and it is going to prep the skin and give it enough boost and moisture for any makeup that will be applied.


Primer
Now, because I noticed a little bit of redness in her complexion, I’m going to use a yellow-tinted colour-correcting primer just to cancel out any of the minimal redness that she had. I’m using the same brush as I used for the moisturizer, but you can use your hands for this step.


Foundation
So now on to the foundation, where I’m going to use the Graftobian cream foundation. Instead of using a beauty blender (that oval-shaped sponge) this time, I am opting for an airbrush foundation. What makes this brush great is that it is short and dense and the bristles are rounded, so it really buffs the product into the skin and allows for an airbrushed effect.


These brushes are really easy to use. They can be moved around on the skin any which way, and they will always blend the product perfectly, so you don’t have to move them in a specific direction.
Under Eye
Our model has a bit of a tan complexion, so I am opting for a shade that is on the apricot side, a little deeper for a colour corrector.


The colour correcting did a great job of neutralizing any blue/purple naturally found under the eye. Now I’d like to give her a bit of a brightening, so I’m going to incorporate some yellow, which will give an immediate brightening under the eye.


Because we’re applying beauty makeup for photography, I want a true brightness underneath the eyes, so bringing in the yellow after our original colour corrector, that apricot colour, is really going to give the ultimate brightening.
Eye Primer
Before we continue with the complexion, I am going to add a bit of eye primer. This one is going to give some brightening because it’s a skin-tone shade, and it will take away any natural redness that’s on her lids. When it comes to using eye primers, you only need a little bit—a pea-size amount is enough for both eyes.


Complexion
Now to finish off with her complexion, I’m adding some shadow underneath her cheekbones to emphasize and build up the height of her cheekbones, and also to add a natural shape to her complexion.


Adding a bit more shadow up by the forehead and down by the chin is going to create a receding look by casting a shadow. Because she has a longer face shape, adding a bit of depth in this area is going to allow for a more balanced face shape.
Under-Eye Powder
Now I’ll add the under-eye powder to give a nice soft appearance.


In between steps, I will continually use a damp beauty blender to blend the products into her skin, so it doesn’t look like layers on top of layers of products.


Blush
Now for a dramatic look, I’m going to use a blush in more of a contoured way. Apply the blush, following along where we already placed our shadow.


This is going to be more dramatic than if you were to place it right on the apple of the cheek, which makes for a more natural look.
Highlight and Sheen
Now, because this is advanced beauty makeup for photography and not just a natural makeup, we can play with some highlight and sheen. Using the smaller end of my beauty blender, I’m going to apply, very softly, a light sheen onto the cheekbones to give a little bit more attention to them.


Most of the time, if you are applying a sheen, the cheekbones are where you want to do that. It’s not usually a place where people tend to get oily (that’s either a little bit further down or more in the T-zone area), so a safe way to apply a sheen is to the upper cheekbones.
Brows
To create a dramatic look for her brows for this beauty shoot, I’m going to use a pencil and shape them, as well as filling them in.


Everybody has a different shape to their brows, but one way that you can try to create symmetry between the two is to line up from the nose (that’s your starting point) right through the centre of the eye (that should be your highest point) and then lining up the corner of the eye and the edge of the nose (this should be your ending point).


That’s a great roadmap for you to be able to shape brows correctly, but also make them even on both sides.
Eyelid Shine
Since we are playing with sheen, highlight, and contour with this advanced beauty look, I’m going to add a little bit of shine to the lid of the eye. This is going to create a more advanced look, with a little more pop to the eyes, because it’s going to reflect a lot of that light.
I’m applying a metallic cream, which is going to lay a really smooth base.


To create more contrast, I am going to add a darker shade going up into her crease. We want this to be visible when her eyes are open. So keeping the eyes looking straight ahead and building up into that crease is going to create the shape.


Colour Contrast
So now that we’ve added a deeper colour into her crease and we’ve accentuated the eyelid with a pop of lighter colour plus the sheen, we are going to add a bit more contrast in colour, right onto her brow bone. I’m using a fluffier brush again to create a really smooth blend.


So now I’m going to add some weight to her lash line by adding a little bit of pencil and smudging it just on the outer area of her eye. For this, I’m using a tapered brush because it has a small point that helps me drag and lift any product.


To add just a little bit more dimension, I’m applying an even darker shade right into the outer corner of her eye. This is going to help create shape, as well as a bit more dimension.


To add some more weight to the lash line, we might even do two coats since this is going to be a dramatic beauty look. When you’re applying mascara, you definitely want to get all the way down to the very base, at the root of the hair. Then wiggle the brush at the base of the lash to deposit even more product. And then wiggling and brushing up is just going to bring that product right through from the root to the tip of the lash.


I’m going to add just a little bit of pencil right into the inner waterline and drag that all the way across. This is going to create a smokier look, but also allow her eye colour to stand out even more.


Lips
For the lips, I first use a lip balm to boost the hydration. Then, using a natural shade, I create a lip colour that’s still going to give the illusion of natural lips, but just a bit more enhanced. I go slightly lighter than her actual lip colour, and that’s going to allow for a softer look.


One last advanced trick is to apply a slightly lighter shade of concealer to the very centre of the top or bottom lip to give the illusion of fuller lips.
Powder
Last but not least, we’re going to set her with a powder to take away any shine that is coming onto the forehead and other high planes of the face. I’m not going to add too much mattifying powder to the cheekbones, since we do want to leave a little bit of a sheen there for a nice healthy glow.


Skin
For a beauty look, you want to make sure that any areas of skin that are showing look absolutely flawless, so using a face and body product will be really helpful. There are products meant specifically to smooth over any discolouration or uneven skin tone on a body.


My favourite product is from the line ‘Make Up For Ever’. It’s actually 80% water, so it’s going to lay really smooth on the skin. It feels just like water, and you rub it right on like a lotion. It also has a little bit of silicone, so it will be essentially waterproof, but it’ll flex and move really well with the skin. You want to rub this product all the way in.


This is a good product to use if you need to cover or even out any uneven skin tones. It’s not necessarily a product that you’d want to walk around with, but it will photograph really beautifully. Using this product on legs would be the most common use of a product like this as it really does hold up well under a lot of different conditions and looks very natural on the skin once it’s set and dried.
Before & After
Alright! Here is the before & after of our high-fashion beauty makeup for photography.


Now that you’ve learned some skills and techniques to create a beauty look, you’re ready to move on to the next tutorial, in which you’re going to learn how to approach creating a natural look for men—in particular, dark-skinned men, but the techniques that we’re going to cover will also work for men of any skin type.

