When Blair Bunting captured this dreamy low-light photo on his Hasselblad H6D-100c medium format camera, he bumped his ISO setting up to 6400. “This is a big deal to those that lived through years of an ISO 400 limit,” he shared at the time.
Over the last decade, camera brands have vastly improved their cameras’ ability to shoot in low-light conditions, empowering more photographers to leave their comfort zones and capture images that would previously have remained out of reach. Gone are the days when going above ISO 400 produced unusable images.
In this how-to, we’ve kept things (relatively) simple so you can learn the practical side of how ISO will affect your photography, without having to wade through too much dense technical information. If you’re not familiar with ISO, it might be helpful to read this article first.
Along with shutter speed and aperture, ISO forms part of the so-called “exposure triangle,” making it one of the three settings that control the brightness or darkness of your photographs. The relationship here is straightforward: with all other settings being equal, the higher the ISO setting, the brighter the image. If your photo is overexposed (too bright), lowering your ISO can help; underexposed (too dark), and you can consider bumping it back up.
Depending on your camera model, you might be able to adjust your ISO using a dial on the top or within your camera menu. You’ll normally see higher ISO settings—for instance, ISO 3200 or even 6400—in low-light situations where you can’t open up your aperture or slow down your shutter speed to let in more light.
Here are some examples:
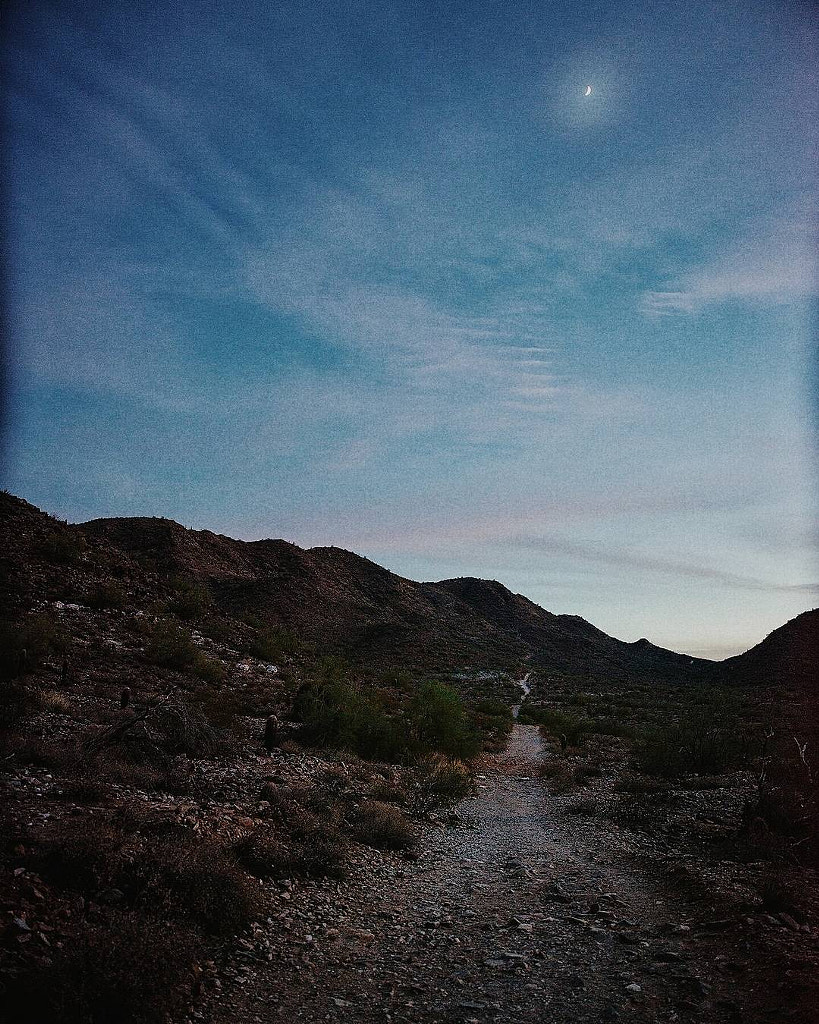
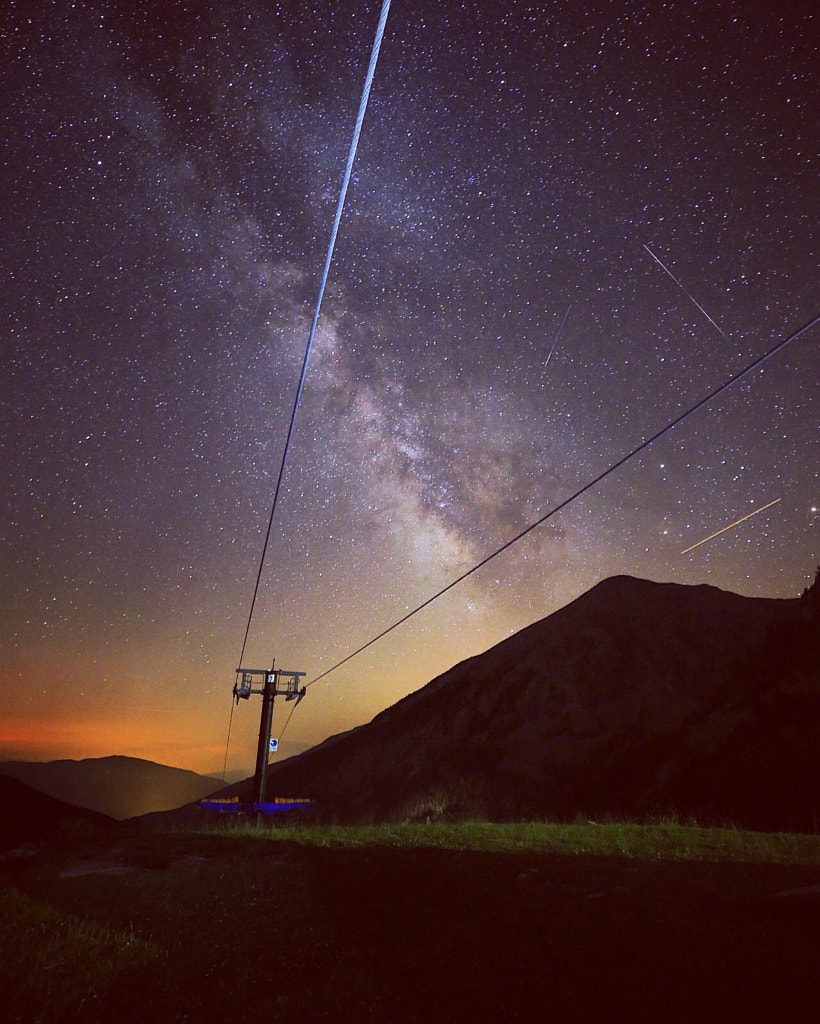
- If you’re shooting a landscape at nighttime, a slower shutter speed will cause the stars to blur, while a wide aperture will cast some of the details out of focus—two things you likely don’t want. In that case, you’d have no choice but to raise your ISO; without bumping it up, everything in the scene would be dark.
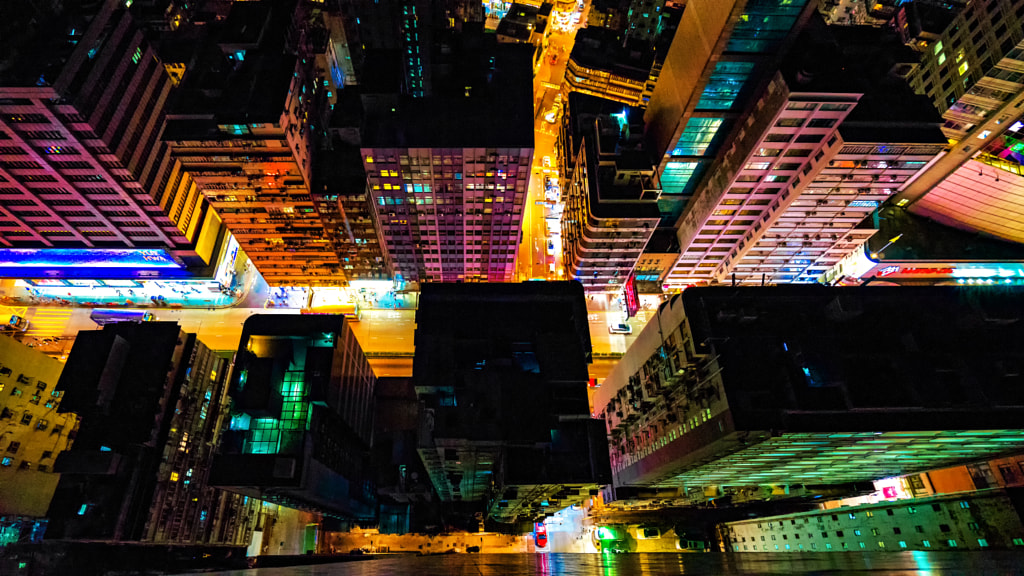
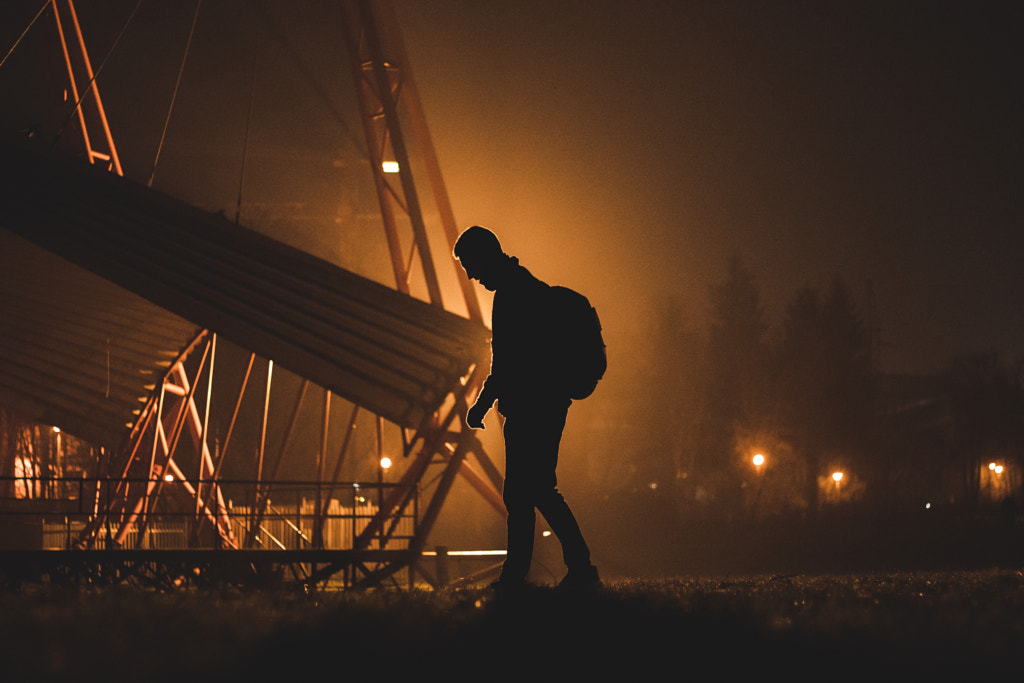
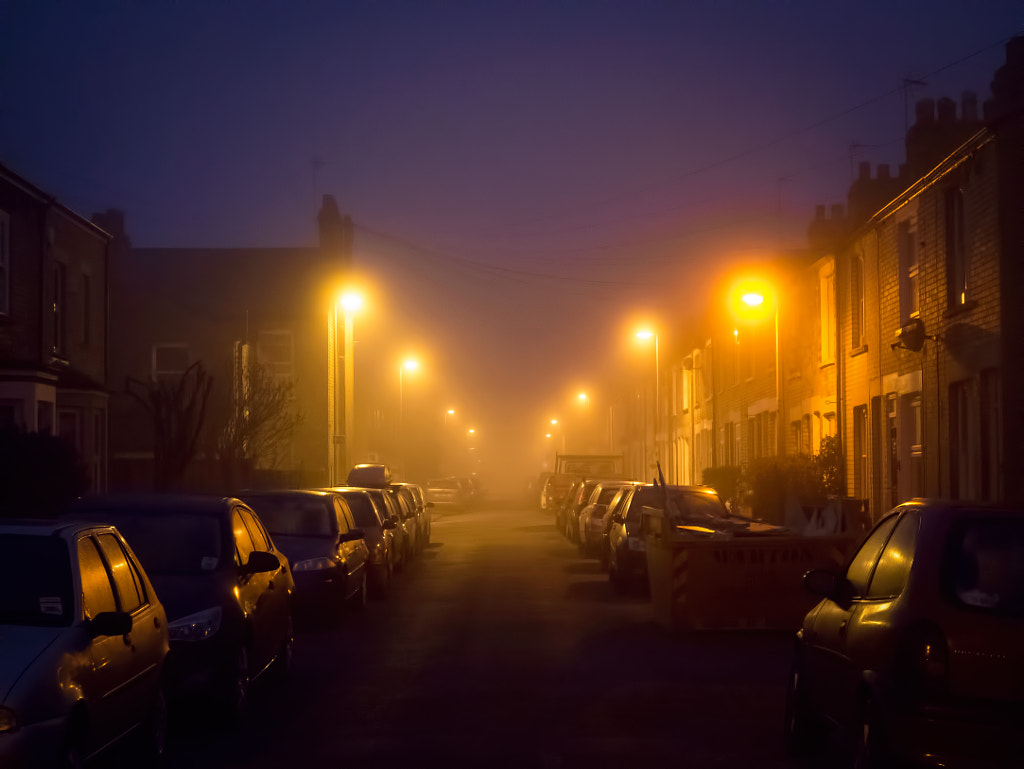
- Similarly, if you’re shooting a concert in a dark nightclub, your best bet might be to boost your ISO to prevent motion blur or a shallow depth of field. The same goes for nighttime street photography. In situations where a tripod would be a hindrance and a flash would be distracting (or you simply cannot bring your own studio lighting), high ISO is the way to go.
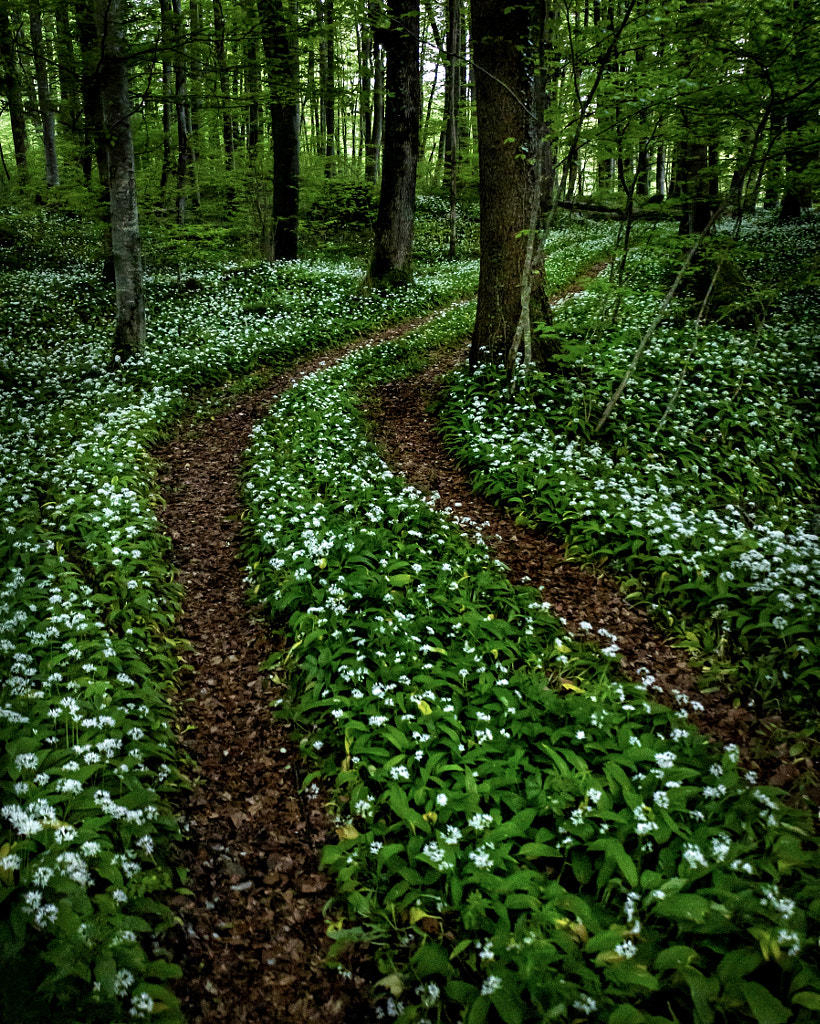
- Even a dense forest can create low light conditions that warrant a higher ISO; recently, while walking among the wild garlic without a tripod, the landscape photographer 7infocus Photography had to boost the ISO settings.
Here’s why some photographers avoid higher ISO settings, despite the brightening effect:
- The higher you need to push your ISO (and the less light you have entering your lens through your aperture and shutter speed), the more visible noise you potentially introduce into your digital images. Visible noise degrades the quality of your image as it increases and can lead to softer, less-than-sharp photos.
- At higher ISO settings in photography, you’ll also decrease your dynamic range, which can result in a loss of detail in the highlights. If you’re seeing pure white areas without being able to recover any of those details, a high ISO setting could be to blame.
For those reasons, the standard “rule” is to keep your ISO as low as possible, for the sake of image quality; in many digital cameras, the base ISO is 100. It’s an easy rule to follow in bright, sunny conditions, but it gets harder after the sun goes down.
If you think the solution is just to crank up your exposure in post-production, unfortunately, that won’t work, as it’s likely to introduce plenty of unwanted noise across your image—more than if you just boosted your ISO in camera. In many cases, a better bet would be to expose to the right (overexpose a bit) and then bring it down in post-production.
(As a brief aside, that all changes if you’re using what’s called an “ISO-invariant” camera; with these newer cameras, it won’t matter nearly as much whether you do brighten your image in-camera using ISO or in post-production. While there’s no such thing yet as a completely ISO-invariant camera, these latest cameras do allow you to preserve some highlight details by underexposing and then brightening your image in post.)
Regardless of the camera you’re using, as a general rule, if you’re shooting in manual mode, you should set your aperture and shutter speed first, depending on what you need in terms of depth of field and motion blur (or lack thereof). You can then set your ISO at the lowest possible setting you can use to get a proper exposure, which might actually be pretty high if you have very little light entering your lens.
Here’s the good news about high ISO settings:
- Cameras are vastly better today at handling these higher settings than even just a few years ago; some are exceptional. That means that two different cameras could deliver two different image qualities at the same ISO setting, so it’s important to do your research before investing in a camera.
- Another positive development is easy-to-use noise reduction software, such as DxO PureRAW, Topaz Denoise, and ON1 NoNoise. Use a light touch, as a little can go a long way.
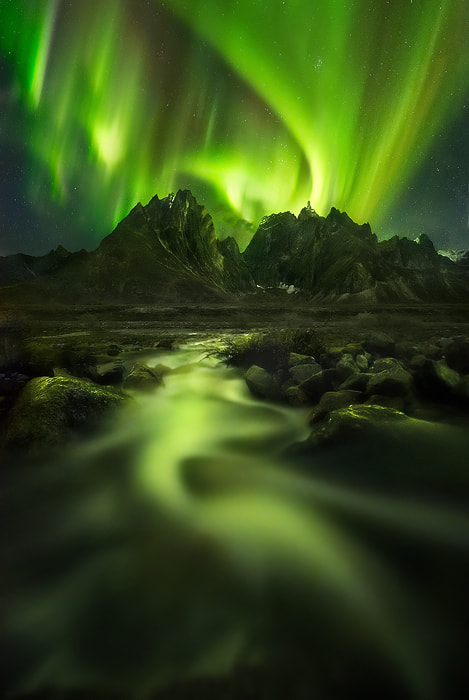
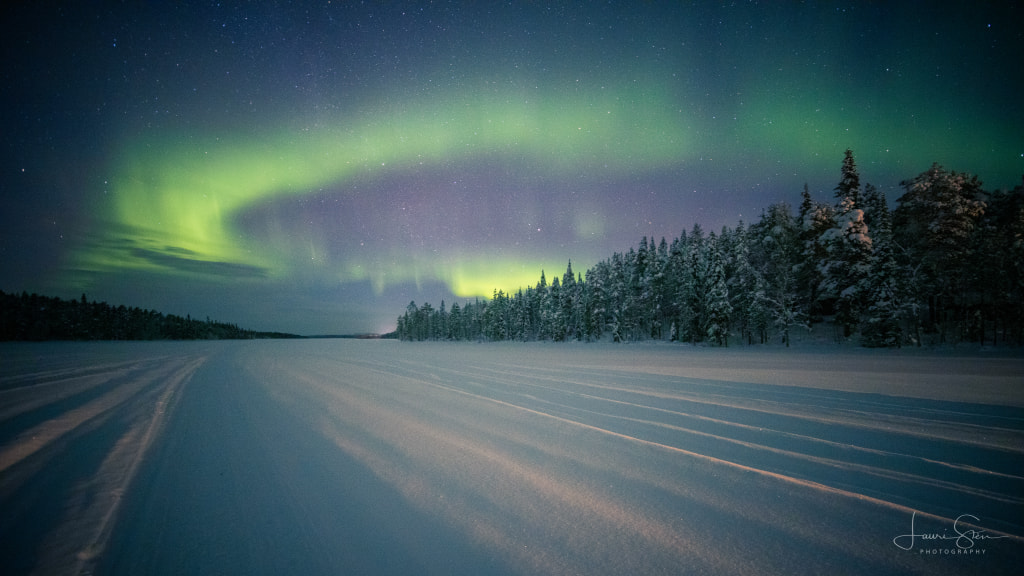
Mark Adamus captured this sparkling aurora (above) years ago using ISO 12,500 on his Nikon D800, with some noise reduction in RAW and post-production.
For more high ISO inspiration, just consider the fact that camera manufacturers continue to defy the limits of the imagination: Canon, for example, has a camera that goes all the way up to ISO 4 million, making it possible to capture images in near darkness.
Ultimately, the secret to using high ISO settings boils down to some trial and error: research your camera before buying it, or even better, rent or borrow it so you can test how it performs in various low-light environments and scenarios. There’s no better way to learn the limitations of your gear than to use it, so get shooting, and see what works for you. A bit of noise or a smaller dynamic range might not always be a deal-breaker, especially when capturing beautiful moments.
Not on 500px yet? Sign up here to explore more impactful photography.
The post What you need to know about using high ISO settings in your photography appeared first on 500px.