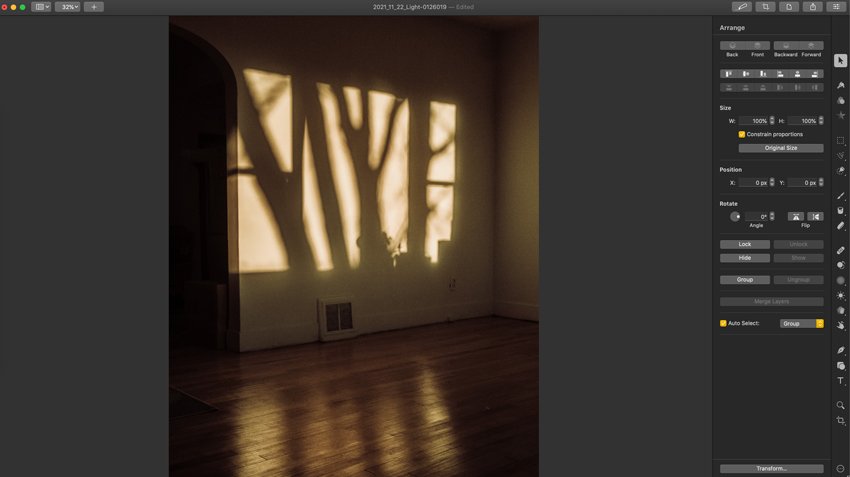
Pixelmator Pro is a Mac-based application that boasts all the power you’d expect from a professional level photo editing software. At a fraction of the price of its competition, and a free 15 day trial, Pixelmator Pro is a great option for any photographer looking to edit their photos.
One of my favourite features of Pixelmator Pro is the implementation of layers in their workspace. A workflow using layers allow you to stack layers on top of one another other in a non-destructive way. This means you can return to the edit and alter any layer without any deterioration to the image quality.
Let me show you how I use layers in Pixelmator Pro.
How to Use Layers in Pixelmator Pro
Make Layers Visible
Open an image in Pixelmator Pro.


Now, we’ll need to make Layers visible. Go to View > Show Layers to display the Layers menu.


Notice the Layers menu is now displayed on the left hand side of the workspace.


Create Adjustment Layers
The most practical use of layers in a photographer’s workflow would be Adjustment Layers. Let me show you how to create these, and how to implement them into a photo editing workflow.
Click on Insert > Color Adjustments.


Look at the Layers menu, and you will see that you’ve now created a Color Adjustments Layer.


Now that we’re setup and ready to make some edits on this new layer, let me show you how to really use layers to your advantage.
Using Adjustment Layers in a Photo Edit
Instead of doing all of your adjustments on a single Color Adjustments layer, let’s make just one adjustment per adjustment layer. We’ll create a new adjustment layer for each adjustment we’d like to make. Let me show you what I mean.
First, I’ll make my basic photo adjustments such as exposure, contrast, highlights, etc. These are all in the Lightness sub-menu of the Color Adjustments menu.


Notice on the lefthand side, in Layers menu, where the Color Adjustments Layer displays, it now shows ‘Lightness‘ underneath the layer. That’s displaying the contents of that adjustment layer.
Let’s create another Color Adjustments Layer and add on some colour grading. Go to Insert > Color Adjustments Layer.
On this second Color Adjustments Layer, I’m going to affect the Color Balance. Again, notice how this Color Adjustments Layer shows ‘Color Balance‘ underneath, as this adjustment is on this adjustment layer.


You can continue this as many times as you like with as many different adjustments as you can think of. As I mentioned off the top, working with layers is non-destructive, which means you can come back at any time and refine your adjustments.
Additionally, you can click the little yellow checkmark next to the layer name to hide that layer, thus hiding those layer adjustments. Furthermore, you can change the opacity of any layer at any time to decrease the percentage of visibility to the layer.
All of this flexibility allows you the freedom to try out a new editing style or just simply return to an edit with fresh eyes and continue to refine an edit.
I hope this has helped you to understand how you can work with layers in Pixelmator Pro, and the power and ease of implementing this editing workflow into your life!


