


In this tutorial, you’ll learn how to make light rays in Photoshop using an easy technique. To do that, you’ll use different filters and color adjustments.
These light ray Photoshop brushes are great if you want to enhance the existing light on your photos or add light ray overlays to your photo manipulations or paintings.
Short on time? Then check out our amazing light beam brushes for Photoshop available on Envato Elements.
What You Will Learn in This Photoshop Light Ray Tutorial
- How to prepare the base for the sun rays
- How to create various sun rays
- How to create the light ray Photoshop brushes
- How to test your light beam brushes for Photoshop
Tutorial Assets
The following assets were used during the production of this tutorial on how to add light rays in Photoshop:
- Entrance of a Church
- Old Dirty Window With Web and Sun Rays
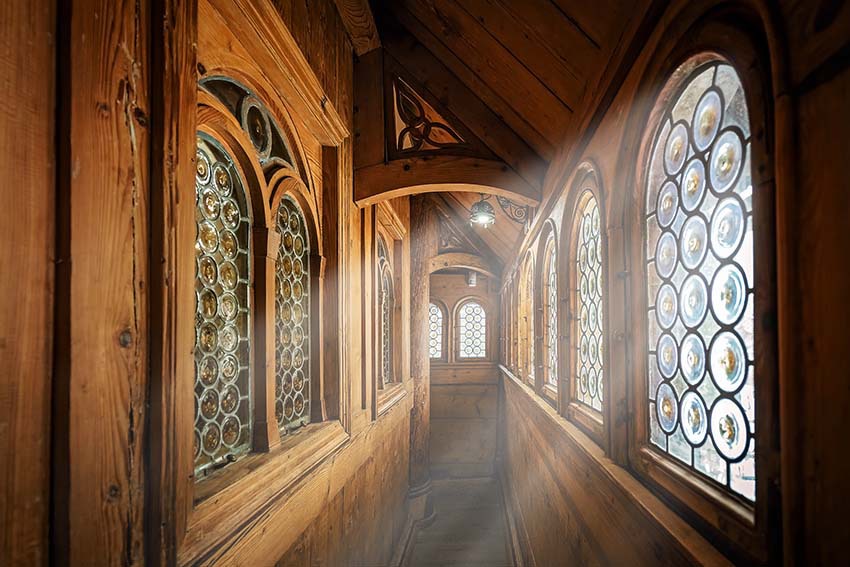
- Narrow Corridor Inside the Medieval Wang Temple
I’ll show you how to create two basic brushes in this tutorial. After that, you can play with different settings to create many more. Let’s get started!
If you want to learn these techniques via video, check out our lesson on the Envato Tuts+ YouTube channel:
1. How to Prepare the Base for the Photoshop Light Rays
Step 1
Create a New Document in Photoshop. Set its Width and Height to 5000 Pixels and Resolution to 72. Press OK.


Step 2
Grab the Paint Bucket Tool (G). Pick a black color and Fill the Background layer with it. Create a new empty layer and name it SUN RAYS.


Step 3
Grab the Elliptical Marquee Tool (M) and select the middle part of the image.


Go to Select > Modify > Feather Selection and set Feather Radius to 200 pixels. Press OK.


Step 4
Set black as your Background and white as your Foreground.


Step 5
Make sure the SUN RAYS layer is active by clicking on it. Go to Filter > Render > Clouds.
Go to Edit > Deselect.


2. How to Create Various Photoshop Light Rays
To create the base of our light beam Photoshop brushes, you need to blur the clouds you rendered in the previous step. There are plenty of variations of rays you can create. In this tutorial, I’ll show you how to create two different brushes.
Step 1
Select the SUN RAYS layer and hit Control-J to create a duplicate of the layer. Name the new layer SUN RAYS 1.
Make the SUN RAYS layer Invisible by clicking on the eye icon to the left of the layer.


Click on the SUN RAYS 1 layer. Go to Filter > Blur > Radial Blur and set the panel as shown below. Set Amount to 99 and select the Zoom Blur Method. Move the Blur Center to the top left corner.


To create sunbeams in Photoshop, press OK. Take a look at the result of this step.


Step 2
To make the sun rays more visible, go to Image > Adjustments > Levels and set the Input Levels to 25; 0.65; 205. Press OK.


Step 3
To add more details to the rays, you’ll sharpen them a little in this step. Go to Filter > Sharpen > Unsharp Mask and set the Amount value to 1% and Radius to 180 Pixels. Press OK.


This is the base for your first light beam brush for Photoshop. Make this layer Invisible for now by clicking on the eye icon on the left side of the layer so you can focus on creating another brush.


Step 4
Right-click on the SUN RAYS layer and select Duplicate Layer or hit Control-J. Name the new layer SUN RAYS 2.


Step 5
Go to Filter > Blur > Radial Blur and set the Amount to 99. Select Zoom Blur Method and set the Blur Center to the upper center of the image.


Press OK. To create a more visible effect, press Alt-Control-F on your keyboard to repeat it.


Step 6
To make the sun rays narrower, go to Edit > Free Transform and transform them as shown below. Press OK to apply the changes.


3. How to Create the Light Ray Photoshop Brushes
You’ve already created the shapes of your brushes. Now you need to make the actual brushes from them. I’ll show you how to do that for the first light beam brush for Photoshop. The process is the same for the second light ray brush for Photoshop.
Step 1
Make the SUN RAYS 1 layer visible and the SUN RAYS and SUN RAYS 2 layers Invisible.
You need to invert the colors to create the proper shape of the brushes. Add a new Invert adjustment layer on top of all the layers.


Go to Select > All to select the whole image. Go to Edit > Copy Merged to Copy it and Edit > Paste to Paste it.
Step 2
Go to Edit > Define Brush Preset and name the brush Sun Rays 1.


Step 3
Do the same with the SUN RAYS 2 layer to create another brush.


4. How to Test Your Light Ray Photoshop Brushes
To create more variations of these two basic light ray Photoshop brushes, you can increase or decrease the contrast, sharpen them, make them wider or narrower with the Free Transform Tool, or set the blur from different directions. It’s up to you which effect you prefer.
Before testing, let me give you a couple of tips on how you can create the most realistic results with your light ray brushes for Photoshop:
- Study how light actually works and mimic it in your artwork. You can take a look at the photo in the preview to see real-life sun rays.
- Avoid using a pure white color while painting the light. It won’t look realistic. Try some bright yellow or orange tones instead.
- Work with a lower brush opacity to get the most realistic result.
- Keep in mind the direction of the light. The rays should have the same direction.
- If you want to use the brushes on your photos, try to just enhance the light that is already on the photo.
Let’s take a look at how the Sun Rays 1 brush works.


In the photo below, you can see how the Sun Rays 2 brush works. Here, I’ve used it to highlight the existing rays in the photo and make them more obvious.


Awesome Work, You’re Now Done!
In this tutorial, you’ve learned how to add light rays in Photoshop with your own set of brushes. You can use them to enhance the light in your photos or to create a new light source from scratch. To get the most realistic light, I recommend studying how natural light works and also using a low opacity.
I hope you’ll have fun working with these brushes. I’m looking forward to seeing your results!
Light Ray Brushes for Photoshop From Envato Elements
Shine some gorgeous light into your photo manipulations or digital illustrations with amazing light beam brushes for Photoshop from Envato Elements.
Light Distort Photo Effect: Edgy Light Ray Photoshop Brush (ATN)


If it’s an edgy, eerie, distorted effect you’re after, you’ve come to the right place. Turn your images into works of art instantly. This high-quality light ray Photoshop brush has the following specs:
- resolution 4500 x 3000 with 300 DPI
- Smart Object replacement
- organized layers
- three color schemes
- PSD and JPG views
- ReadMe.txt file included
- easily customizable elements and colors
Light Effects Poster: Light Ray Brush for Photoshop (ABR, ATN, PAT)


Fiery, intense, and eye-catching; these three words describe this light ray brush for Photoshop. A golden/reddish glow will light up your images and demand the attention of its viewers. Still, the best part about it is that it’s compatible with all Photoshop CC versions and higher. Moreover, it comes with help files that will take its ease of use to the next level.
Gif Animated Luminance: Energetic Photoshop Light Ray (ATN)


Need a photo to show energy and movement? This is the one! This Photoshop action will allow you to create luminous GIFs or static images in the easiest way possible. Just swipe the brush over the image and add awesome effects. With this download, you’ll have access to a video tutorial that will make using it even easier.
Note that this Photoshop light ray action is only available for the English version of the platform.
Black Light Action: Fun Light Beam Brush for Photoshop (ATN, ABR)


Glow in the dark with the Black Light Action + Brush Pack. You won’t have to splash your models or images with actual paint thanks to this Photoshop light rays action. You won’t have to put them under black lights either.
Do you need help deciding if this is the right Photoshop action for you? Here are the specs for this light beam brush for Photoshop:
- brush pack included
- help file included
- two photo effects
- automatic and manual skin tone selection
- layered results that won’t hurt the original image
Glowing Neon Light Ray Photoshop Brushes (ABR, ASL)


Neon lights are always fun and engaging. So why not use a Photoshop action that draws people in with bright neon tints? With this light ray Photoshop brush download, you’ll get 27 brushes, helping you make the neon effect without much fuss. Just check them out:
- nine neon tubes
- one dot brush
- six multiline brushes
- three glow brushes
- five neon brushes + pen pressure
- three light painting brushes
Soft Bright Photoshop Action: Smooth Light Ray Brush for Photoshop (ATN)


Lastly, there’s the Soft Bright Photoshop Action to give your images a delicate, vintage look and feel. It’s a quieter approach to a light ray brush for Photoshop. The ZIP comes with ten Photoshop actions plus a PDF to learn how to use it properly. Adding a smoother, velvety touch to your photos has never been this easy.
Now you know how to make light beams in Photoshop, but if you want to learn more about lighting and light ray overlay effects, check out these awesome tutorials:


