If you’re a photographer and you’d like to know more about lenses, then you’ll love our free course, What Every Photographer Should Know About Lenses. In this lesson, you’ll learn how to use focal length when making portraits.
Picking Lenses for Portrait Photography
You can take a photo of anything you like with any lens, but the results may vary, and sometimes they’re just plain unsettling, especially when you’re photographing people. In this lesson, you’ll see where the sweet spot for focal length is when it comes to portraits.
When we talk about perspective in photography, we’re referring to how the subject or scene looks from a particular spot. In order to change perspective, we can’t simply zoom in or zoom out because we’re still standing in the same spot. What we need to do is move from one spot to another.
The Face and Focal Length Explained
In this example, we’re going to look at what happens to the human face when we use different focal lengths, and then change the perspective to compose the shot so that the face is roughly the same size in all the images.
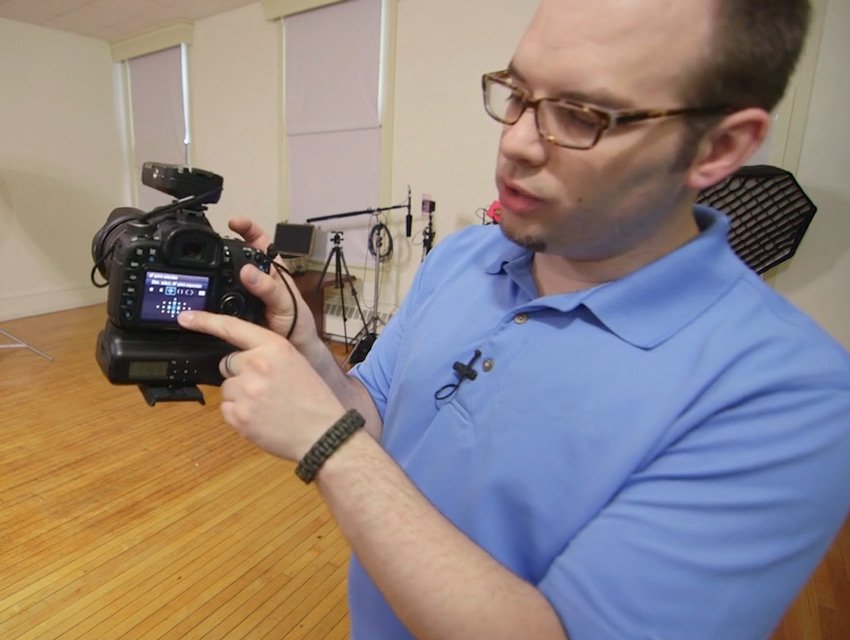
What we’re looking at is how focal length and field of view change the image, and how that affects the human face. Our setup includes a couple of speed lights in Octoboxes, on stands, plus a Canon 7D camera (1.6x crop sensor) with a Tamron 18mm-270mm zoom. This isn’t the best quality lens to do headshots or portraits with, but it’s fast and convenient, so we can see a lot of different focal lengths all at once without having to change lenses.
The camera is set to Manual with 1/250 as the shutter speed, plus both flashes set to manual, so we’re focused on changing the focal length and moving around to recompose the face to be about the same size in all of these shots.


We’re only using five focus points in the centre—so it’s the centre one, the one above, below, to the right, and to the left. We’ll line it up so the centre one is on the model Rachel’s nose and the one just below is on her mouth, which should keep the size of her face about the same for all the pictures.
We’ll start at the widest the lens goes, which is 18mm—any wider than that would make the face look unusual and distorted. Then we’ll look at each of the ‘big’ focal length changes up to 270mm, which is as high as the lens goes, physically moving back away from Rachel to keep her face the same size.
18mm


18mm is right up in Rachel’s face with the camera, and you can see that it doesn’t look right. A wide-angle lens exaggerates the relative size of foreground objects and makes background objects more distant, and in a face, that’s the foreground and the thing closest to the lens is the nose, so it ends up looking bigger than it should, particularly compared to the rest of the face. Meanwhile, it makes the hair and the ears look smaller.
35mm


As we move up from 18mm to 35mm, you can see a big difference. The nose pushes into the face, and the hair looks a lot bigger.


Here are the two together to make it easier. At 18mm we can’t actually see the part of the hair that we can see at 35mm because the camera is too close.
50mm


It’s actually 59mm, but they’re pretty close. Here’s a side by side of 35mm and 59mm so you can see the difference.


You can see there’s another kind of compression that happens here as well. The nose definitely gets smaller, particularly if you look at the nostrils—they look as if they’re settling down in her face. The hair, again, looks bigger, and you can see more of it.
70mm


We’re actually at 77mm here, but you can see another shift. Here’s the comparison:


It’s not drastic, but there’s definitely a little shift. The nose looks a little bit smaller, the hair is looking slightly larger, and we can see more of the back of the head hair.
100mm


This is at 100mm, and here’s the previous shot comparison:


The hair looks bigger, the nose looks a little smaller, and the whole portrait is starting to look quite nice. You’re going to see a big difference going from 100 to 150.
150mm


We’re at 154mm, and here’s the comparison:


The big changes here are partially due to the way that Rachel turned her head for this shot. She slightly turned to expose the side of her face against one of the softboxes. So you can see a really flat section of light on the right side of her face (your left), and this is actually where compression isn’t so helpful because there’s no shading there and it makes her face look unnaturally wide because of the lack of light falloff—there’s no shading or dimension there. When you take something that’s flat and you compress it, it looks even flatter, so in this instance it’s making Rachel’s face look wider.
200mm


We’re at 218mm, and you can see Rachel is back towards the camera. To make the comparison easier, we’ll compare this one with the 100mm where Rachel was in the same position.


You can start to see a little compression creeping in now, partially due to the very flat lighting but also as a result of these higher focal lengths making objects look as if they’re closer together, so it’s making her nose look as if it’s closer to her ears, which is flattening out her face.
270mm


This focal length and the previous one just look strange. Here’s the comparison:


At this focal length, the portraits don’t look great. It can be hard to see the real differences when the lengths used are fairly close together, so let’s take a look at some comparisons where the shots were further apart in focal length.
More Comparisons


35mm is the first portrait that looked reasonable, but it’s still a little bit wide and there’s a big difference when you go to 77mm, where the nose gets smaller and the face looks much nicer.


Now, from 77mm to 218mm, you can see another big jump—the face looks much flatter and wider.
Summary


It seems the sweet spot for making the face look its best is between 35-50mm and 100mm. 35mm is still a little wide, but that’s where the face starts looking right. When we got to 50mm or 60mm, it was more in the zone.
Then it’s starting to look a little bit better because it’s a normal focal length and 35mm on a crop sensor camera, which is what these pictures were made with, is more like 56mm on a full frame. Once we got past that length, we saw some compression happening, and when we got to 100mm, that’s where the face started to look its best—the nose was smaller, and the proportions weren’t exaggerated.
Past that, upwards of 150mm, and that’s where you start to get too much compression and the face looks flat. Dramatic lighting might change that up a bit, but a longer focal length is still going to ‘pancake’ the face a bit and make it look as if it’s all the same dimension.
50mm to 100mm seems to be a good length for making the face look its best, with a 1.6x crop sensor. On a full-frame camera, that’s around 160mm, so 100mm looks similar to a 160mm field of view on a full-frame camera. 50mm looks similar to an 80mm field of view on a full-frame camera. If you’re on Micro Four Thirds, you may want to look at around 24mm to 50mm because of the 2x crop factor.
Learn More About How to Use Lenses
Keep learning about how to use photographic lenses with these free tutorials.


Primes vs Zooms: Pros and Cons of Fixed Focal Length Lenses for Photography
Setting the Standard: What’s a Standard Zoom Lens?
When and How to Use Wide Angle Zoom Lenses
How to Use Wide-Aperture Lenses for Photography: Primes vs. Zooms in Low Light


About the Authors
David Bode created the video course that includes this lesson. Dave is an expert on video and audio production, and he lives in the upstate NY area. He works as a camera operator, editor, inventor, motion graphics designer, recording engineer, and studio musician.
Marie Gardiner created the text version of this lesson. Marie is a writer and photographer from the North East of England. After gaining her degree in Film and Media, Marie worked in the media industry, before leaving to set up the business she runs with her partner: Lonely Tower Film & Media. Her photographic work focuses on landscapes and industrial ruins, particularly those of the North Pennines as she continues to work on her long-form documentary project Changing Landscapes.
This tutorial was edited and published by Jackson Couse. Jackson is a photographer and the editor of the Photo & Video section of Envato Tuts+. He lives in Canada.

