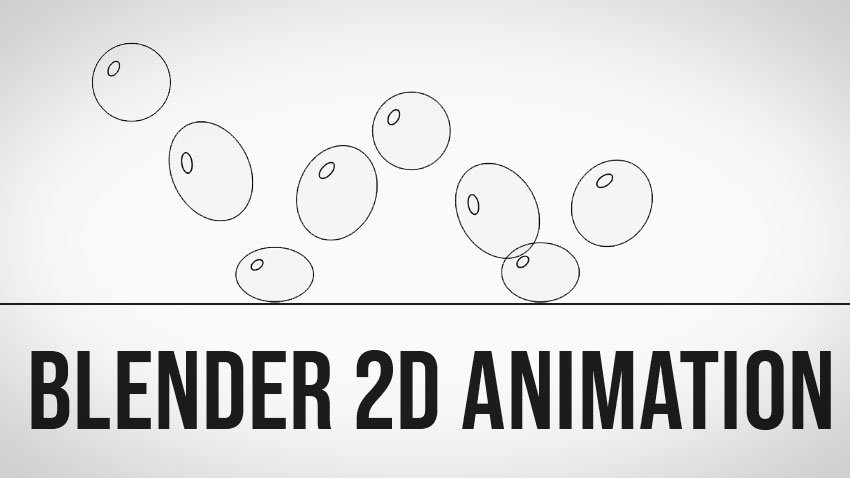


Blender is famous for being great for 3D, but did you know that it is also amazing for 2D animation? This is a relatively new feature introduced in Blender 2.8, and it includes a number of unique functionalities and tools that work extremely well for creating 2D animations.


What You’ll Learn in This Blender Tutorial
In this tutorial, we will go through the basic tools and workflow you will need to create a successful 2D animation in Blender. Topics we cover will include:
- How to use the Grease Pencil
- How to use Keyframes in Blender
- What 2D animation tools are available in Blender
1. How to Enter Draw Mode
Step 1
Create a new 2D Animation file by selecting it from the intro window. You can also go to File > New > 2D Animation.
This will be the main mode you will be using when creating your drawings and animations.


Step 2
This will create a new blank document that we can work from. For some basic navigation around the viewport, you can use the gizmos located on the right of the screen.


Step 3
You will create most of your drawing within the Draw Mode. This is the only mode that allows you to create 2D strokes. You can change modes within Blender using the top-left dropdown menu.
Strokes that have already been created cannot be selected in Draw Mode. If you want to edit strokes, you must use the Edit Mode or Sculpt Mode instead.


2. How to Create a Grease Pencil Object
Step 1
The Grease Pencil is the main tool that you will be using in Blender to create 2D animations, and it will allow you to draw in 3D space.
Blender highly recommends using a tablet or touchscreen display whilst using this tool.
To create a new Grease Pencil object, you must first go into Object Mode by selecting it from the top-left dropdown menu.


Step 2
Then go to Add > Grease Pencil to see a few different options to choose from.
- Blank: Creates a null Grease Pencil Object
- Stroke: Creates an example stylized stroke demo
- Monkey: Creates a monkey face example


Step 3
Create the blank grease pencil object, and then go back to the 2D Animation workspace to go back into draw mode.


3. How to Use the 2D Drawing & Animation Tools
Step 1
On the left, you’ll find all your basic tools, which include the Draw Tool, Fill Tool, Eraser Tool, etc. These work in a similar way to what you’ll find in any other photo editing software.


Step 2
The basic Draw Tool will include all your basic settings such as brush stroke and colour, which you can adjust on the right of the screen.


Step 3
With the Draw Tool selected, you can change the brush by clicking on the pencil icon located on the top menu bar.


Step 4
Along the top bar, you also have other options to change the basic settings of the Draw Tool, such as colour, radius, strength, etc.
These settings are also available on the right side of the screen under the Active Tool & Workspace Settings.


Step 5
To use the Draw Tool, simply click and drag as you would using any other photo editing software. Grease Pencil strokes in Blender are 2D, but they exist as a 3D object.
Once you are done drawing, you can then edit these strokes further by going into Edit Mode.


4. How to Prepare Your Animation
Step 1
In Blender, the Grease Pencil object can be animated in the following ways:
- Inherited Animation: Using the movement of another object as its parent
- Moving as a Whole Object: Changing the position, orientation, or size
- Deforming: Animating their points
- Drawing Frame by Frame: drawing one frame at a time, like traditional animation
To start a new animation, go to File > New > 2D Animation to start a new animation template. This template should already have a Grease Pencil object already created and Auto Keyframes enabled.
Draw a ball and rename it “Ball”. You can also use the Circle Tool to do this if you prefer. For a perfect circle, you can hit the Shift key as you click and drag.


Step 2
Once you’re happy with the shape, hit Enter on the keyboard. This will create the Grease Pencil object and add a keyframe for you in the timeline.
You can also delete the Fills as we will only be using lines for this tutorial.


Step 3
Create a new Grease Pencil object for the floor by going into Object Mode, and then go to Add > Grease Pencil > Blank. Rename it “Floor” and then draw the floor in Draw Mode.


Step 4
Use the same process to draw out the movement path for your bouncing ball. You can rename this Grease Pencil object “PathGuide”. We will use this as a guide for your ball animation.


5. How to Animate With the Grease Pencil
Step 1
Go to Edit Mode and move the ball to the start of your path.


Step 2
Select the keyframe for the ball and duplicate it by pressing Shift-D. Then move the keyframe forward by about 10 frames.


Step 3
Do this 6 times for the ball to bounce 3 times. Change the end frame of the animation to end at the same time as the last keyframe.


Step 4
Go to Edit Mode and move the timeline forward to the next keyframe. Then move the ball to where you want it to be at that moment.


Step 5
Repeat the steps for each keyframe until you reach the end of the animation.


Step 6
Now, if you press the play preview button, you’ll see that we now have a basic animation!
To make the animation smoother, you need to fill in the space between each of the current keyframes with new keyframes. So repeat the same process as before to fill in the missing keyframes.


Step 7
You can then organise your keyframes. Select the “filler” keyframes, hit R on the keyboard, and select Breakdown so that you now see a visual difference for the different types of keyframes.


Step 8
Add some final adjustments for each frame, such as ‘squashing’ and ‘stretching’ the ball shape, to improve the look of the animation.


Congratulations! You’re Done!


Congratulations! And that is how you can create basic 2D animations in Blender. Feel free to create your own drawings and animations, and I’ll see you next time here on Envato Tuts+!


