
What if you took one thing, and made it into something entirely new? You can. You should. Here’s some inspiration.
Art is a transformational medium. Take one thing, and turn it into another thing. Blank canvas, meet painting. Marble slab, meet statue. Idea, meet reality.
This week, Shutterstock is celebrating transformation and reimagination at Art Basel Miami. In partnership with contemporary street artist Bradley Theodore, several Shutterstock portraits of cultural and historical icons have been reinvented for all to see.
Maybe you can’t get down to Miami this week (neither can the person writing this). However, if you’re inspired to transform your own image, you can do that from the comfort of your home. That’s the beauty of art—all you need is an idea . . . a desire . . . an inkling to create.
So, in the spirit of making something new from something else, here are four transformational designs from four of our amazing designers. The best part? These were all made using PicMonkey’s tools.
No (tangible) brushes required. No paint. No laundry detergent for afterward. Just hop into PicMonkey and get to it. Feel free to practice recreating these designs first with the featured images, or use some of the tools and techniques described to reimagine your own photo!
Reimagination in 4 Ways


Get the Look:
- Open a black and white portrait image in PicMonkey (or upload a color photo and turn it black and white).
- Click Remove Bkgnd on the left Image Tools menu. This will allow for layering.
- Once your background is removed, open the Photos & Video tab and search “graffiti” in the stock photos search bar. Click and drag a photo onto the canvas to make it your new background.
- Open the Graphics tab and search for hearts, hashtags, and stars. Look for ones that appear hand-drawn or spray painted. Click to add to your canvas and move them around as you wish.
- To change the colors of your graphics, select each one and click Change color on the left Graphic Tools menu. Choose from preset solid or gradient swatches. Or, use the Eyedropper tool to pull colors from your background image.
Pro tip: Use the Layers panel to change the order of your design elements. It’s how the heart graphic at the top of this image looks like it’s behind the portrait of the woman.
- Select your original image layer and click Pro effects on the Image Tools menu. Add an outline to the portrait and change its color to yellow.
- Lastly, open up the Draw tab. Use the Draw tool to digitally draw on your portrait (in this design’s case, hair outlines, eyes, lips, and flowers were added).


Get the Look:
- Open your image in PicMonkey.
- Use the Layers panel to unlock your image from the canvas, then right-click to duplicate it.
- Open the Alignment palette on the bottom toolbar and turn on gridlines.
- Select your duplicated layer and click Edits on the left menu. Use the Crop tool to crop your image in half, fine-tuning alignment with help from the gridlines.
- Select your original layer and click Remove Bkgnd on the left Image Tools menu. Replace with a color gradient background (the one in this design is a subtle to light gray).
- Next, add your graphics so that they fit the contour/shape of your subject. This image makes use of paint strokes and makeup smudges.
- Customize your graphics with effects. For example, the Gradient effect lets you control its blend mode, offering up a number of unique looks. Tint works well for saturated graphics. You’ll find Sculpt in the Touch Up tab—this is especially helpful when working with brush stroke graphics, as it lets you reshape parts of a selected layer.
- Last but certainly not least—play with the look. Use the Layers panel to reorganize your design elements and create a depth that feels right. Experiment with effects on the cropped image. The black and white look portrayed here is actually a combination of Journo, Film Stock, and Edge Sketch effects.


Get the Look:
- Open your image in PicMonkey and remove its background.
- Click Effects on the left Tabs menu and apply the Journo effect.
- Click the Textures tab and apply Glitter. Adjust its Fade slider to 50% and change the Blend Mode to “Add.”
- Open the Graphics tab and add a gold brush graphic on top of your subject’s eyes.
- Open the Draw tool and use the dry brush to make your own brush strokes on the canvas. Move some behind your subject (again, make use of the Layers panel here).
- Apply gold foil textures to your brush strokes using the Size slider to vary sizes between strokes.
- Select your background layer and click Change color. Open the Gradient tab and choose a gradient color.
- Open the Graphics tab. Find triangles under the Basic Shapes category and add one to each corner of your canvas. Change their colors to match your gradient choice.
- Add other geometric shapes—like thin circles—for extra visual intrigue.
- Finally, open the Text tab and click Add text to add a text layer to your design. Adjust the size and line spacing so that the layer fits your canvas. Type your message and customize your font selection.
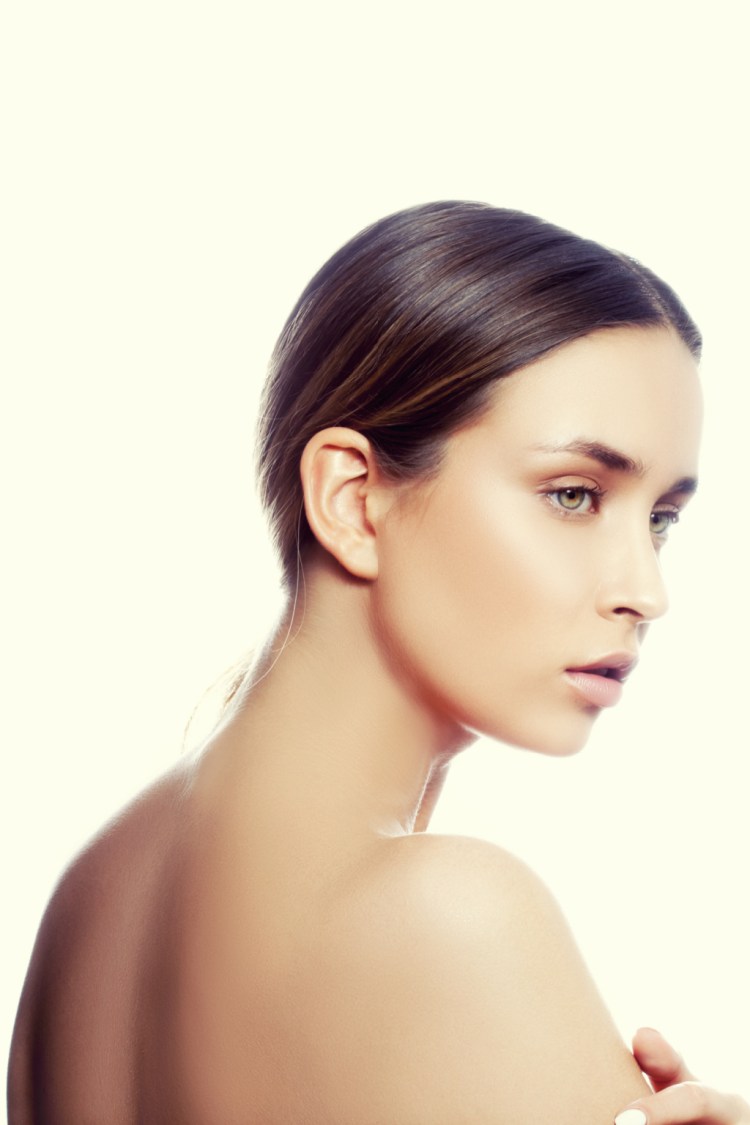


Get the Look:
- Start with a portrait photo. From the shoulders up works well for achieving this look. If using the one above, click the vertical flip icon at the bottom of the left toolbar to reverse the direction of the subject.
- Click Remove Bkgnd on the Image Tools menu to remove your image’s background. Then use the Eraser tool to remove the top of the head, as well as loose hair from around the ears and back of the head (if needed).
- Next, add a floral or botanical photo that matches your desired aesthetic (Shutterstock has a ton!). Look for something with sprigs, twigs, and/or leaves that protrude from the edge—they’ll help create motion and visual interest. Remove this photo’s background, too, and position it behind your portrait photo (use the Layers panel to help). If needed, adjust the look further using the Eraser tool again, or by rotating and resizing your image.
- As you can probably guess, the final look of this design requires a rather complex assortment of effects and textures. We’re going to give you the uber-specific details in case you’re working hard to mimic this design, but don’t hesitate to play with the effect controls yourself—you might discover something totally new.
Using effects:
- Select the portrait image layer, then click Effects. Add the Journo effect (Standard), and adjust the Fade slider between 50-75%. This will desaturate the image while still leaving subtle skin tones behind.
- Apply the same effect again; however, this time, set the Fade slider to 20% and use the Paintbrush tool to paint on the effect from the bottom of your image toward the shoulders. Use a large, soft brush with the Strength slider set between 10-20% to remove color from the shoulders.
- Now, apply the Santorini effect, adjusting its Fade slider to about 50%.
- Apply the Santorini effect to your floral image layer, too, keeping the fade at a similar level.
Adding a beveled edge:
- To create a beveled edge (giving your subject a three-dimensional appearance), you’ll need to duplicate your portrait layer. Then click Shadow & outline on the Image Tools menu and add a Drop Shadow. Adjust the look using the control sliders.
- Since you only want this effect near the top of your image, click Crop layer and crop your duplicated portrait just above the bridge of the subject’s nose.
- Move this cropped layer behind your original, then duplicate it one more time. This time, you’ll add an Inner Shadow and keep it above your original. Again, adjust your look with the Inner Shadow control sliders.
Adding texture:
- Select all three portrait layers from the Layers panel, then click Group layers on the left tools menu. Add the Film Grain effect to your grouped layers and set its strength between 20-40%.
- Select your background layer and open the Textures tab. This design uses the 9th swatch from the Edifice category, yielding a mottled / concrete look. Set your Saturation and Fade sliders to 0.
- With your background layer selected, click the padlock icon on the Layers panel to separate it from the canvas. Open the Fade & blend tab on the left. Set your Fade slider to 90% and the Blend mode to “Multiply.”
- Duplicate your Edifice texture layer and move it to the top of the design.
- Almost done! Open the Graphics tab and select a circle shape from the Basic category. Add a texture to it, and move behind your subject. Adjust its look as you see fit, so that it blends into your final design.
Now, what say you go make something? Then share with us (@shutterstock) and PicMonkey (@picmonkey). We can’t wait to see what you create.
Cover image via Avesun.
The post 4 Ways to Reimagine and Transform Your Images appeared first on The Shutterstock Blog.